
It's been quite awhile since I've posted here on the blog, but I wanted to share a pattern that I've been working on. The knitting machine craze has been fun the past few years. It is very easy to make hats and scarves on the Addi King machine that I have.
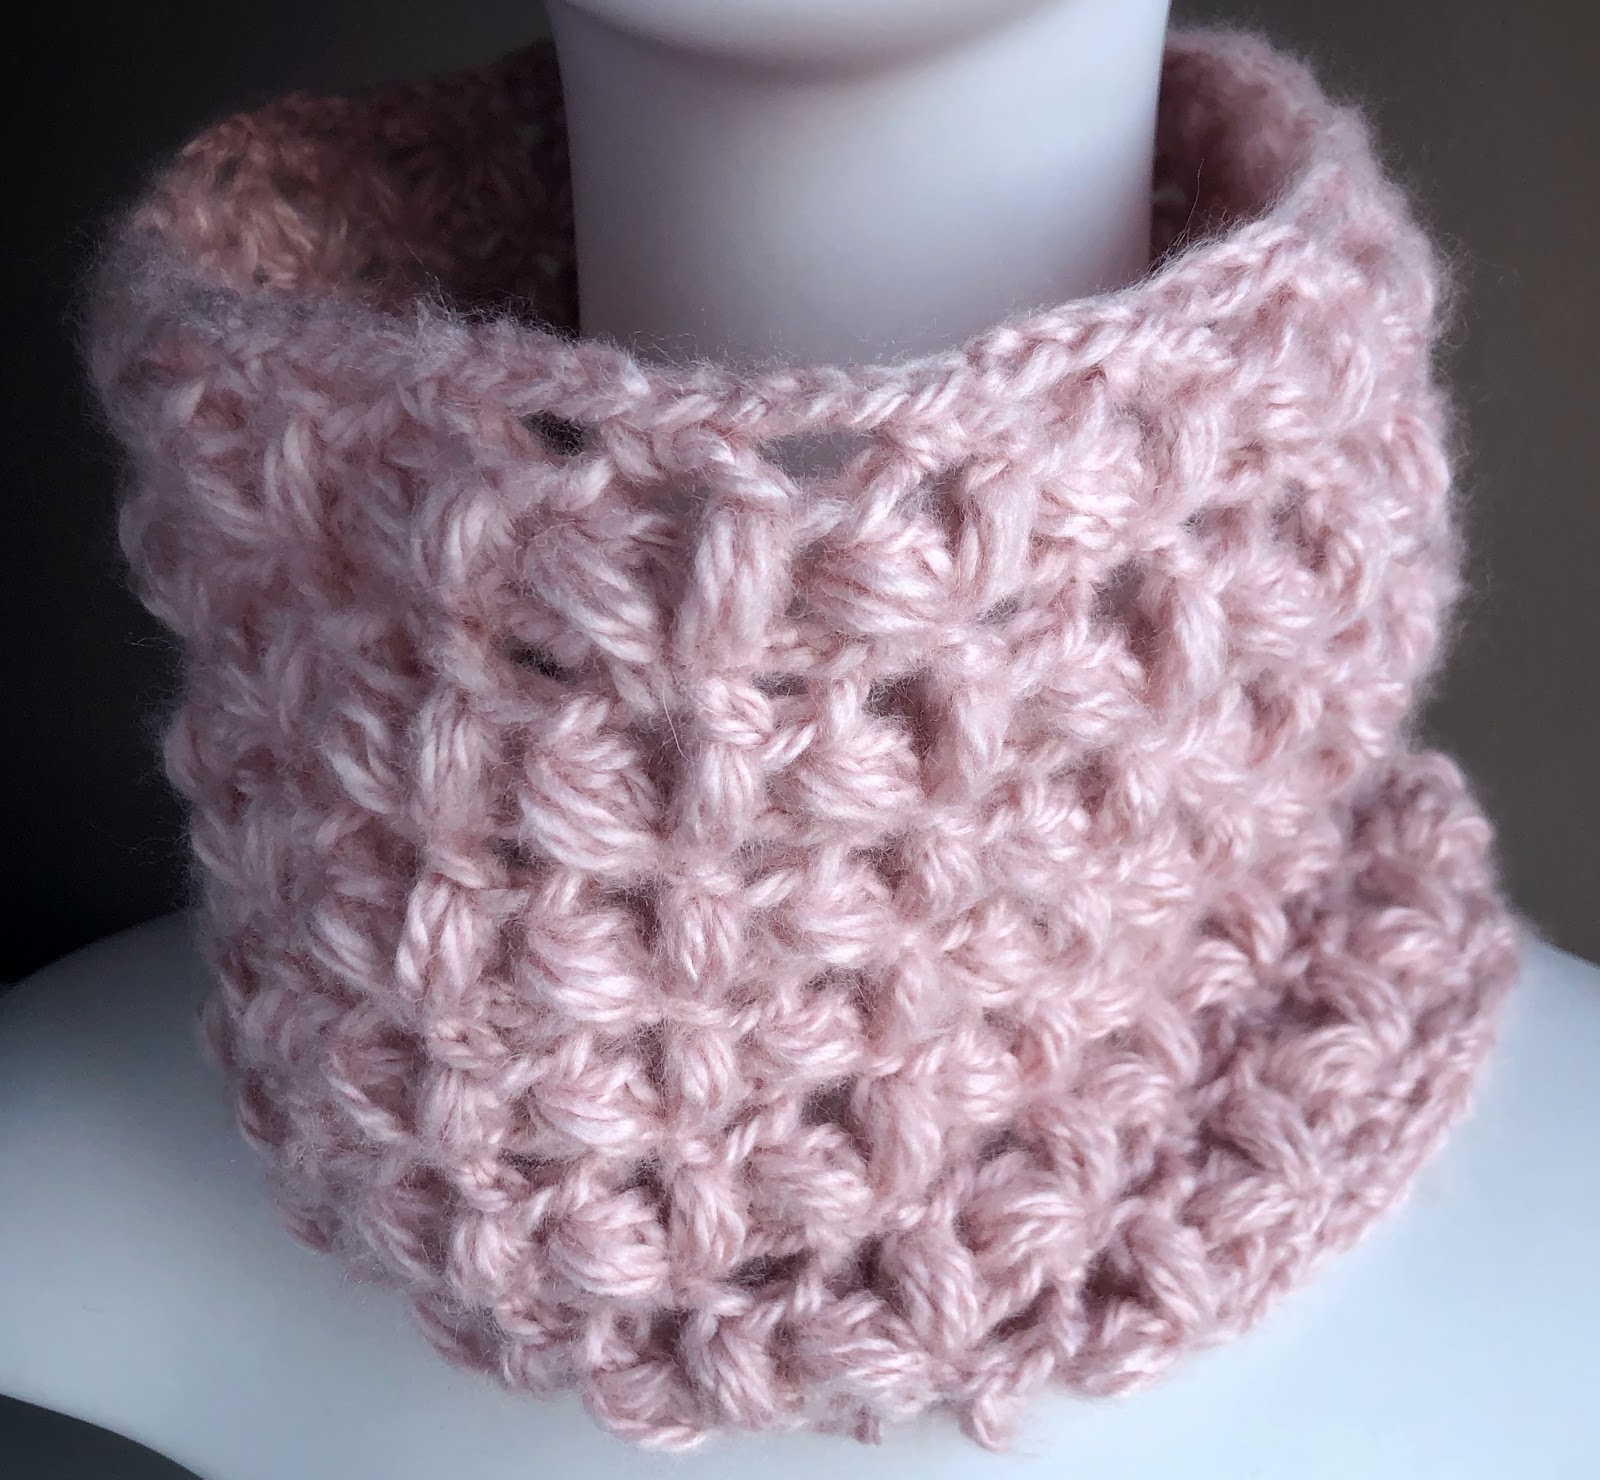
I thought it would be fun to combine a knitted brim with a crochet flair. I wrote up this easy pattern for a Knit and Crochet Beret. Worked in Lion Brand Respun yarn, this style is stretchy, versatile and fun.
Knit and Crochet Beret - Stretchy Brim Beret
You'll need a 46 needle Addi King size knitting machine, some waste yarn, approximately
4 oz. of Lion Brand Respun yarn and a J size 6mm crochet hook.
.png)
With Addi King size (46 needle) knitting machine, cast on with waste yarn and work 5 rows.
With working yarn knit 36 rows. Add waste yarn for 5 rows and remove from machine.
Round 1: With J hook (6mm) fold brim and carefully single crochet each knit stitch together
and remove both waste yarns. Join with slip stitch to first SC.
Round 2: ch 2 (counts as HDC), HDC in next 3 sts, 2 HDC in next *HDC in next 4 sts,
2 HDC in next. Repeat from * around. HDC in last st and join with sl st to top of ch 2. (55 sts)
Round 3: ch 2, HDC in next 2 sts, 2 HDC in next. *HDC in next 3 sts, 2 HDC in next.
Repeat from * around. HDC in last 3 sts. Join with sl st to top of ch 2. (68 sts)
Round 4: ch 2, HDC in next 3 sts, 2 HDC in next. *HDC in next 4 sts, 2 HDC in next.
Repeat from * around. HDC in last 3 sts and join with sl st to top of ch 2. (81 sts)
Round 5: ch 2, HDC in next 4 sts, 2 HDC in next. *HDC in next 5 sts, 2 HDC in next.
Repeat from * around. HDC in last 3 sts and join with sl st to top of ch 2. (94 sts)
Rounds 6 - 13: ch 2, HDC in each st around. Join with sl st to top of ch 2.
Round 14: ch 2, HDC in next 5 sts, HDCdec. *HDC in next 6 sts, HDCdec.
Repeat from * around and join with sl st to top of ch 2.
Round 15: ch 2, HDC in next 4 sts, HDCdec. *HDC in next 5 sts, HDCdec.
Repeat from * around and join with sl st to top of ch 2.
Round 14: ch 2, HDC in next 3 sts, HDCdec. *HDC in next 4, HDCdec.
Repeat from * around and sl st to top of ch 2.
Round 15: ch 2, HDC in each stitch around. Join with sl st to top of ch 2.
Round 16: ch 2, HDC in next 2, HDCdec. *HDC in next 3, HDCdec.
Repeat from * around and join with sl st to top of ch 2.
Round 17: ch 2, HDC in each stitch around. Join with sl st to top of ch 2.
Round 18: ch 2, HDC in next st, HDCdec. *HDC in next 2 sts, HDCdec.
Repeat from * around and join with sl st to top of ch 2.
Round 19: ch 2, HDC in each stitch around. Join with sl st on top of ch 2.
Round 20: ch 2, HDCdec. *HDC in 1 st, HDCdec. Repeat from * around.
Join with sl st to top of ch 2.
Round 21: ch 2, HDC in each stitch around. Join with sl st to top of ch 2.
Round 22: ch 2, work HDCdec around. HDC in last. Join with sl st to top of ch 2.Fasten off. Work the tail of the yarn through the remaining stitches. Pull to tighten the circle and fasten off.
Weave in the ends.

As always, finished items are for sale in my Etsy and goimagine shops! Free and paid published patterns are available in my Ravelry shop. Thanks so much for shopping LazyTcrochet!
©️ 2023 LazyTcrochet
For personal use only.


