

 These Homespun Fingerless Mitts are sized to fit ladies or teens, but once you've made a pair you can easily adjust the starting chain to fit the hands of a man or even a child. Just use as many stitches as fit comfortably around the knuckles or base of the fingers and follow the pattern from there, adjusting for the different stitch count. The Foundationless Double Crochet stitch works great for the fingertips of these because it creates a nice, stretchy edge. There's a link for that tutorial HERE.
When crocheting with Lion Brand Homespun yarn, the best advice is not to work too tightly. The yarn calls for a K hook, and most of the time I do use a K hook with Homespun. However, when working with a smaller hook (such as a J hook, as called for in this pattern), you don't want your work too loose either. The reason for using a smaller hook is for a slightly tighter fabric. The more you work with Homespun, the easier it gets. I've read reviews from people who don't like working with it because it gets caught on the hook. I've learned to keep my stitches relatively loose and, at the same time, if it does get caught on the hook I can back step just a bit to drop the bit that doesn't belong off the hook. You'll be able to tell which is the working loop and drop the tighter, incorrect piece off the hook. If you continue and force the next stitch it tends to become tight and difficult to manage and can affect the overall look of your finished fabric. The best thing to do is to go back and fix the loop so that you're sure it's only the working loop on the hook. At any point, you can also drop the loop off the hook, pull it free from the catch and continue on from there. Knitting with Homespun sometimes requires a similar approach, dropping the extra "catch" off the needle as necessary to prevent a tight and inconsistent stitch.
Overall, Lion Brand Homespun continues to be one of my favorite commercial yarns. It makes wonderful shawls, hats, mittens and more, whether knit or crochet. These patterns are easy and should make for a fun weekend of crochet!
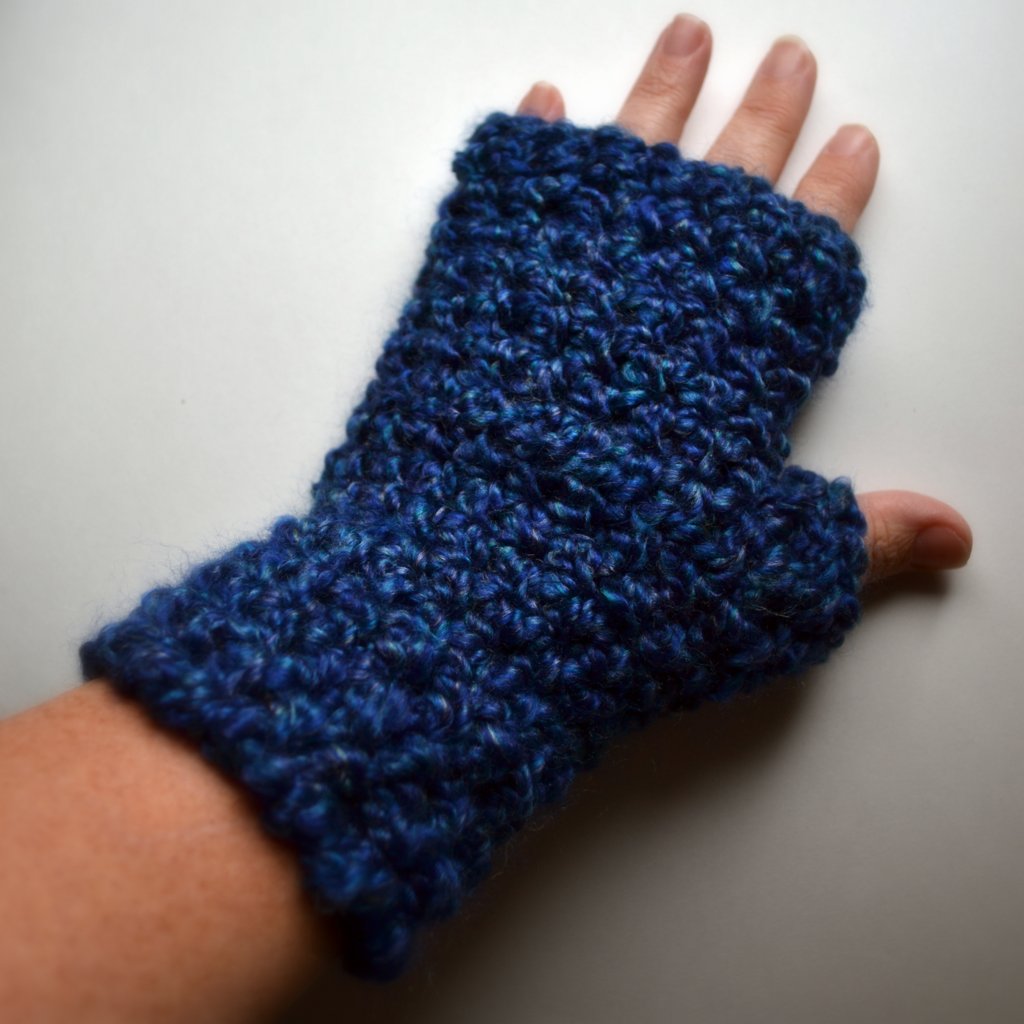
Homespun Fingerless Mitts
by LazyTcrochet
© 2013 LazyTcrochet
Lion Brand Homespun (less than one skein)
J hook (6 mm)
Stitches used:
hdc = half double crochet
DcCh = double crochet chain or “foundationless double crochet” (instructions and tips can be found on my blog at http://lazytcrochet.blogspot.com/2010/03/foundationless-crochet.html )
Reverse sc = Reverse single crochet (sc in the next stitch to the right instead of working to the left as usual)
Round 1: Starting at the fingertip end, leaving approximately 6" tail, DcCh 17, join to bottom of first DcCh. (beginning ch 3 counts as first DcCh) (17 DcCh)
**If you don’t wish to try the DcCh or foundationless double crochet, you can start by chaining 18, double crochet in the 3rd chain from the hook and in each across. Join to top of beginning chain.**
Round 2: Ch 2 hdc in next st. and each st. around. Join to top of ch 2. (ch 2 counts as hdc throughout) (17 hdc)
Rounds 3 - 5: Repeat round 2, join. (17 hdc ea. round)
Row 6: Ch 2, hdc in next st. and each st. around. (17 hdc) Do not join.
Row 7: Ch 2, turn. Hdc in same (creates an increase) and ea. st. around, working the last st. loosely (18 hdc).
Row 8: Ch 2, turn. Hdc in same (creates an increase) and ea. st. around, working the last st. loosely (19 hdc). Join to top of ch 2. Do not turn.
Round 9: Ch 2, hdc in next st. and each st. around. Join to top of ch 2. (19 hdc)
Rounds 10 - 15: Repeat Round 9 (19 hdc ea. round).
Round 16: Ch 1, working loosely, work in reverse sc for one round and join. (This step isn’t necessary, but creates a nice edging and it helps distinguish between the wrist end of the gloves and the fingertip end.)
(If you want a longer glove, continue working in the round until you reach the desired length. You can increase a stitch, if necessary, to fit your arm. Then work the last round in reverse sc to finish the edge.)
Fasten off and start the thumb.
Join yarn in the thumb hole opening.
Ch 2 and work 9 hdc evenly around the opening. Join to top of ch 2. (10 hdc)
Ch 2, hdc in next st. and each st. around. Join to top of ch 2. (10 hdc)
Fasten off.
Use the yarn tail at the fingertip and a yarn needle to sew closed the gap created by the DcCh then work all the ends in.
© 2013 LazyTcrochet
For personal use only.


